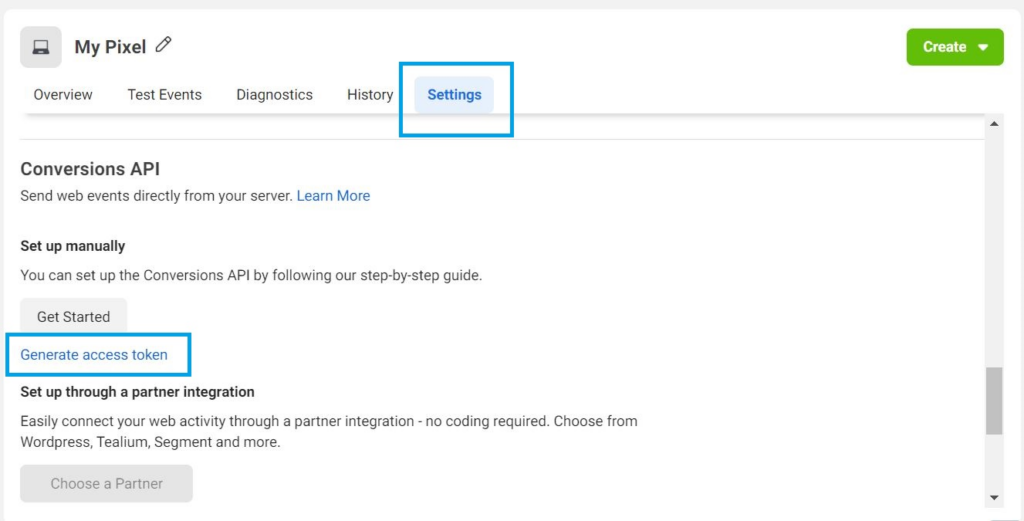
To integrate Conversion API, set up your server to capture and send customer event data to Facebook. Ensure proper data mapping and testing.
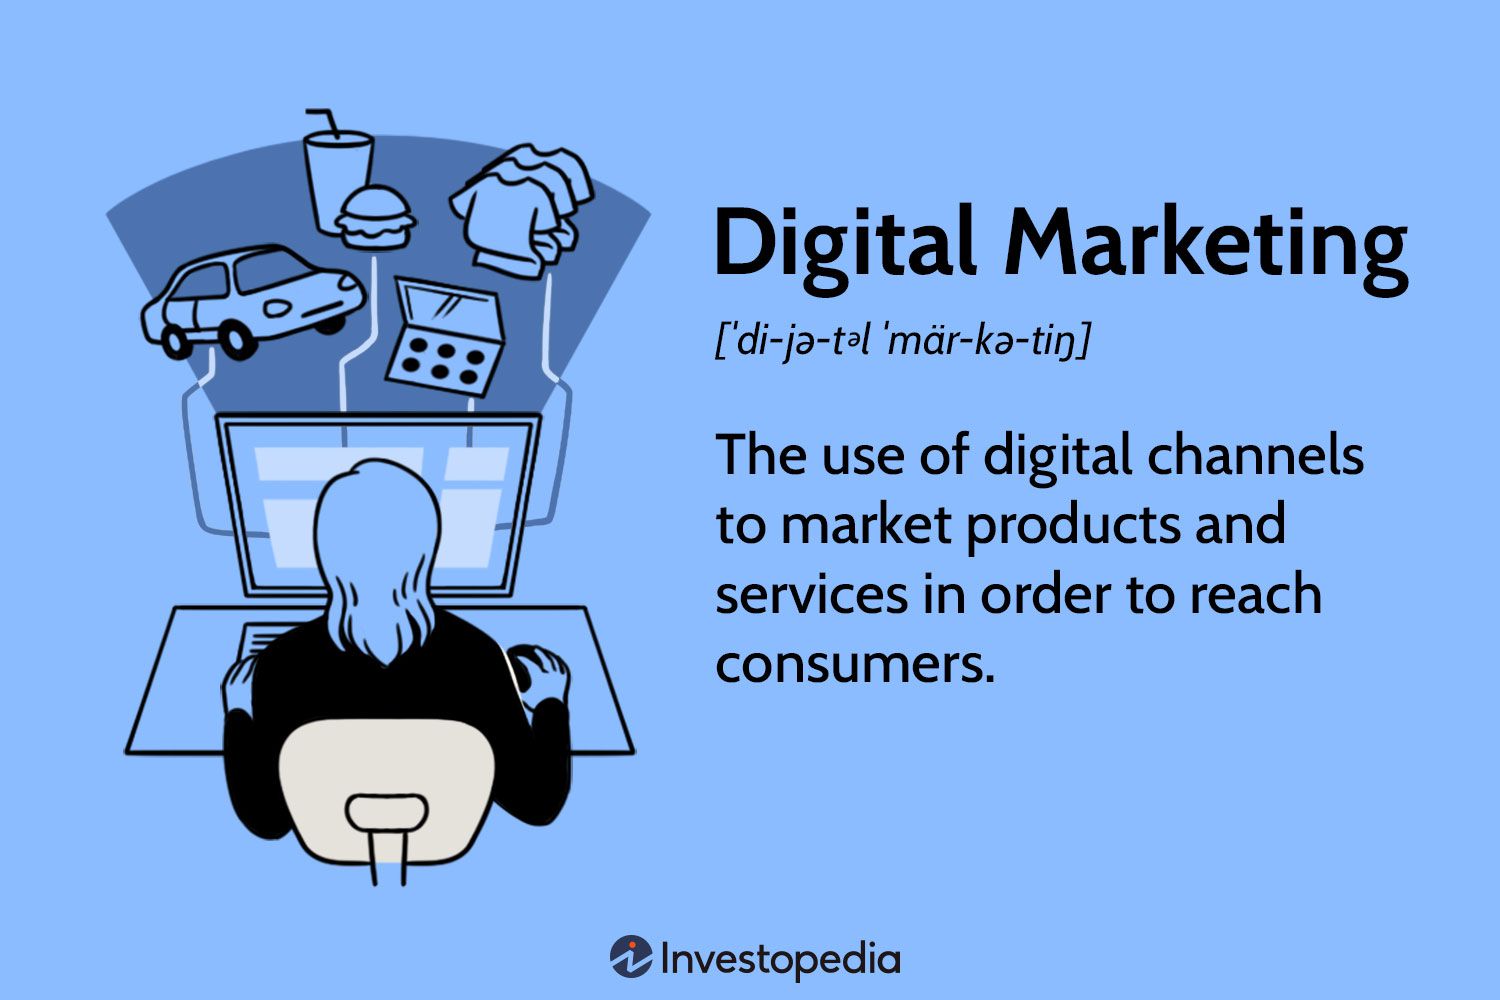
In today’s digital marketing landscape, accurate data tracking is essential for optimizing ad performance and understanding customer behavior. Conversion API (CAPI) offers a robust solution for sending web events directly from your server to Facebook. This API bypasses browser restrictions, ensuring more reliable data transmission.
By leveraging CAPI, businesses can gain deeper insights into customer journeys, improve ad targeting, and boost campaign efficiency. Setting up Conversion API involves configuring your server to capture key events, mapping the data accurately, and performing thorough testing to ensure seamless integration. Embrace this powerful tool to elevate your marketing strategy and drive better results.

Credit: optimizationup.com
Introduction To Conversion Api
Conversion API is a powerful tool for marketers and developers. It helps track events and user actions on websites. This data can optimize marketing campaigns and improve sales. Understanding Conversion API is crucial for any business aiming to leverage data-driven decisions.
What Is Conversion Api?
Conversion API, also known as CAPI, allows servers to send event data directly to platforms. Unlike traditional tracking, it does not rely on browser cookies. This makes it more reliable and accurate. CAPI can capture events like purchases, sign-ups, and page views.
- Direct Data Sending: CAPI sends data from your server to platforms.
- More Accurate: It is not affected by browser restrictions.
- Event Tracking: Tracks various user actions for better insights.
Importance For Sales
The importance of Conversion API for sales cannot be overstated. It provides detailed data about customer interactions. This data is invaluable for optimizing marketing strategies. Businesses can better understand their customers and improve their sales funnel.
| Benefit | Description |
|---|---|
| Better Insights | Gain a deeper understanding of customer behavior. |
| Improved Targeting | Optimize ad campaigns with accurate data. |
| Increased Sales | Enhance marketing efforts, leading to higher sales. |
Implementing CAPI can make a significant difference. Your business will gain a competitive edge. Accurate data helps in making informed decisions. This leads to better customer experiences and increased sales.
Credit: pcgdigital.com
Getting Started
Integrating a Conversion API can boost your marketing performance. This guide will help you get started with the integration process. Let’s dive into the prerequisites and account setup.
Prerequisites
Before starting, ensure you have the following:
- API Access: Obtain access to the Conversion API.
- Developer Account: Sign up for a developer account.
- API Documentation: Review the API documentation thoroughly.
- Technical Skills: Basic knowledge of coding and web development.
Setting Up Your Account
Follow these steps to set up your account:
- Sign Up: Visit the API provider’s website and sign up.
- Verify Email: Check your email for a verification link.
- Login: Use your credentials to log in to your account.
- Create API Key: Navigate to the API section and generate an API key.
- Store API Key: Save the API key in a secure location.
Here is a simple example of an API call using your new API key:
fetch('https://api.example.com/convert', {
  method: 'POST',
  headers: {
    'Content-Type': 'application/json',
    'Authorization': 'Bearer YOUR_API_KEY'
  },
  body: JSON.stringify({
    'conversion': 'example_conversion_data'
  })
})
.then(response => response.json())
.then(data => console.log(data))
.catch(error => console.error('Error:', error));
You are now ready to start using the Conversion API.
Integration Steps
Integrating your platform with the Conversion API requires a few essential steps. This guide will walk you through each step, ensuring a smooth integration process. Follow these steps to ensure successful integration.
Api Authentication
Authentication is the first step in API integration. It ensures that your platform can securely communicate with the Conversion API.
- Obtain your API key from the service provider.
- Store the API key in a secure location.
- Use the API key in your HTTP headers for authentication.
Here is an example of how to include the API key in your headers:
{
  "Authorization": "Bearer YOUR_API_KEY"
}
Connecting Your Platform
Once authenticated, you need to connect your platform to the Conversion API. This involves sending data to the API endpoints.
- Create a new API client in your platform.
- Define the API endpoints you need to connect to.
- Use the POST method to send data to the API.
Here’s an example of a POST request:
POST /conversion
{
  "event_name": "purchase",
  "value": 100,
  "currency": "USD"
}
Ensure that your data format matches the API requirements.
Following these steps will help you integrate your platform efficiently. Ensure you follow the guidelines for each step to avoid errors.

Credit: www.linkedin.com
Data Mapping
Data mapping is crucial for successful conversion API integration. It ensures data flows accurately between systems. Proper mapping helps in tracking conversions and optimizing campaigns. This section will guide you through the essential steps of data mapping.
Identifying Key Data Points
Start by identifying key data points. This could include user actions, purchase details, or page visits. Ensure you know what data is essential for your business goals.
Here are some common data points to consider:
- User ID
- Transaction ID
- Product Details
- Event Timestamps
Identify these points to ensure you capture all necessary data for conversions.
Mapping Data Fields
Once you have identified key data points, map them to the corresponding fields in your API. This step ensures data consistency and accuracy.
Here’s a sample table for mapping data fields:
| Data Point | API Field |
|---|---|
| User ID | user_id |
| Transaction ID | transaction_id |
| Product Details | product_info |
| Event Timestamps | event_time |
Use this table to ensure that each data point matches the correct API field. This step is vital for accurate data transmission.
Example Code Snippet:
const data = {
    user_id: "12345",
    transaction_id: "abc123",
    product_info: "Product XYZ",
    event_time: "2023-10-01T12:00:00Z"
};
Implement the above code to map your data points correctly.
Testing Your Integration
Testing your Conversion API integration is crucial. It ensures that your data flows correctly. This phase helps catch potential issues before going live. Following a structured approach simplifies the testing process. Below, we outline steps and tips for effective testing.
Sandbox Environment
The Sandbox Environment allows safe testing of your API integration. It mimics the live environment without affecting real data. Use it to verify your setup and data flow.
- Access the sandbox environment through your API provider’s dashboard.
- Configure your settings to match the live environment.
- Send test events and monitor their delivery.
Testing in the sandbox reduces risks. It ensures that your integration works as expected. Make sure to test all possible scenarios.
Common Issues And Fixes
Encountering issues during testing is common. Here are some frequent problems and their fixes:
| Issue | Fix |
|---|---|
| Events not received | Check your API endpoint URL. Verify your network settings. |
| Invalid data format | Ensure your data follows the required schema. Validate JSON structures. |
| Authentication errors | Verify your API keys. Ensure they are up-to-date and correctly implemented. |
Testing helps identify and solve these issues. It ensures a smooth and error-free integration.
Optimizing Performance
Optimizing the performance of your conversion API integration is crucial. It ensures smooth data flow and accurate reporting. Enhancing performance involves two main aspects: monitoring API calls and improving data accuracy.
Monitoring Api Calls
Monitoring API calls helps maintain the system’s health. It ensures that all data exchanges are successful. Here are some effective ways to monitor API calls:
- Track API Call Frequency: Regularly check how often API calls are made. This helps identify any spikes or drops in activity.
- Use Logging Tools: Implement logging tools to record every API call. This helps in diagnosing issues quickly.
- Set Up Alerts: Configure alerts for failed API calls. Immediate notifications help resolve issues faster.
Improving Data Accuracy
Data accuracy is key to effective decision-making. Here are some steps to improve data accuracy in your conversion API:
- Validate Data: Always validate the data before sending it through the API. This reduces errors and ensures only clean data is processed.
- Implement Error Handling: Use error handling mechanisms to catch and correct issues. This helps maintain data integrity.
- Regular Audits: Conduct regular data audits to spot inconsistencies. This ensures the data remains accurate over time.
Implementing these strategies will enhance your conversion API’s performance. Monitoring and improving accuracy are essential steps.
Advanced Features
Unlock the full potential of your Conversion API integration with advanced features. These features help you track custom events and sync data in real time. They ensure your analytics are precise and up-to-date.
Custom Event Tracking
Custom event tracking allows you to monitor specific actions taken by users. This feature is highly flexible and can be tailored to your needs.
- Button Clicks: Track when users click on specific buttons.
- Form Submissions: Monitor when forms are submitted on your site.
- Product Views: Keep an eye on how often products are viewed.
- Custom Actions: Define and track any action important to your business.
Implementing custom event tracking requires adding specific code snippets to your site. Here’s an example of how to track a button click:
Real-time Data Sync
Real-time data sync ensures your analytics are always up-to-date. This feature pushes data to your analytics platform instantly.
Benefits of real-time data sync:
- Accurate Analytics: Your data is always current.
- Quick Decision Making: Make informed decisions based on real-time data.
- Improved User Experience: React to user actions instantly.
To enable real-time data sync, you’ll need to set up a webhook. Here’s a basic example:
const webhookURL = 'https://your-analytics-platform.com/webhook';

function sendDataToAnalytics(data) {
    fetch(webhookURL, {
        method: 'POST',
        body: JSON.stringify(data),
        headers: {
            'Content-Type': 'application/json'
        }
    });
}
By integrating these advanced features, you can greatly enhance the effectiveness of your Conversion API.
Case Studies
Case studies provide real-world examples of successful Conversion API integrations. They offer insights and practical lessons. Below are detailed examples and key takeaways from actual implementations.
Success Stories
Let’s explore some success stories of businesses that integrated the Conversion API effectively:
| Company | Industry | Results |
|---|---|---|
| Company A | Retail | 30% increase in sales |
| Company B | Healthcare | 20% boost in lead generation |
| Company C | Technology | 15% reduction in ad spend |
Lessons Learned
From these success stories, several lessons can be learned:
- Data Accuracy: Ensure data sent is precise and reliable.
- Timely Updates: Regularly update the API for best results.
- User Privacy: Always prioritize user consent and data security.
- Customization: Tailor the API settings to fit business needs.
These lessons highlight the importance of accuracy, updates, privacy, and customization. They are crucial for maximizing the benefits of Conversion API integration.
Conclusion
Mastering Conversion API integration can significantly boost your digital strategy. Follow the steps outlined for seamless integration. By doing so, you’ll enhance data accuracy and improve ad performance. Stay updated with the latest techniques to maintain an edge. Implement these tips today and see the difference.


